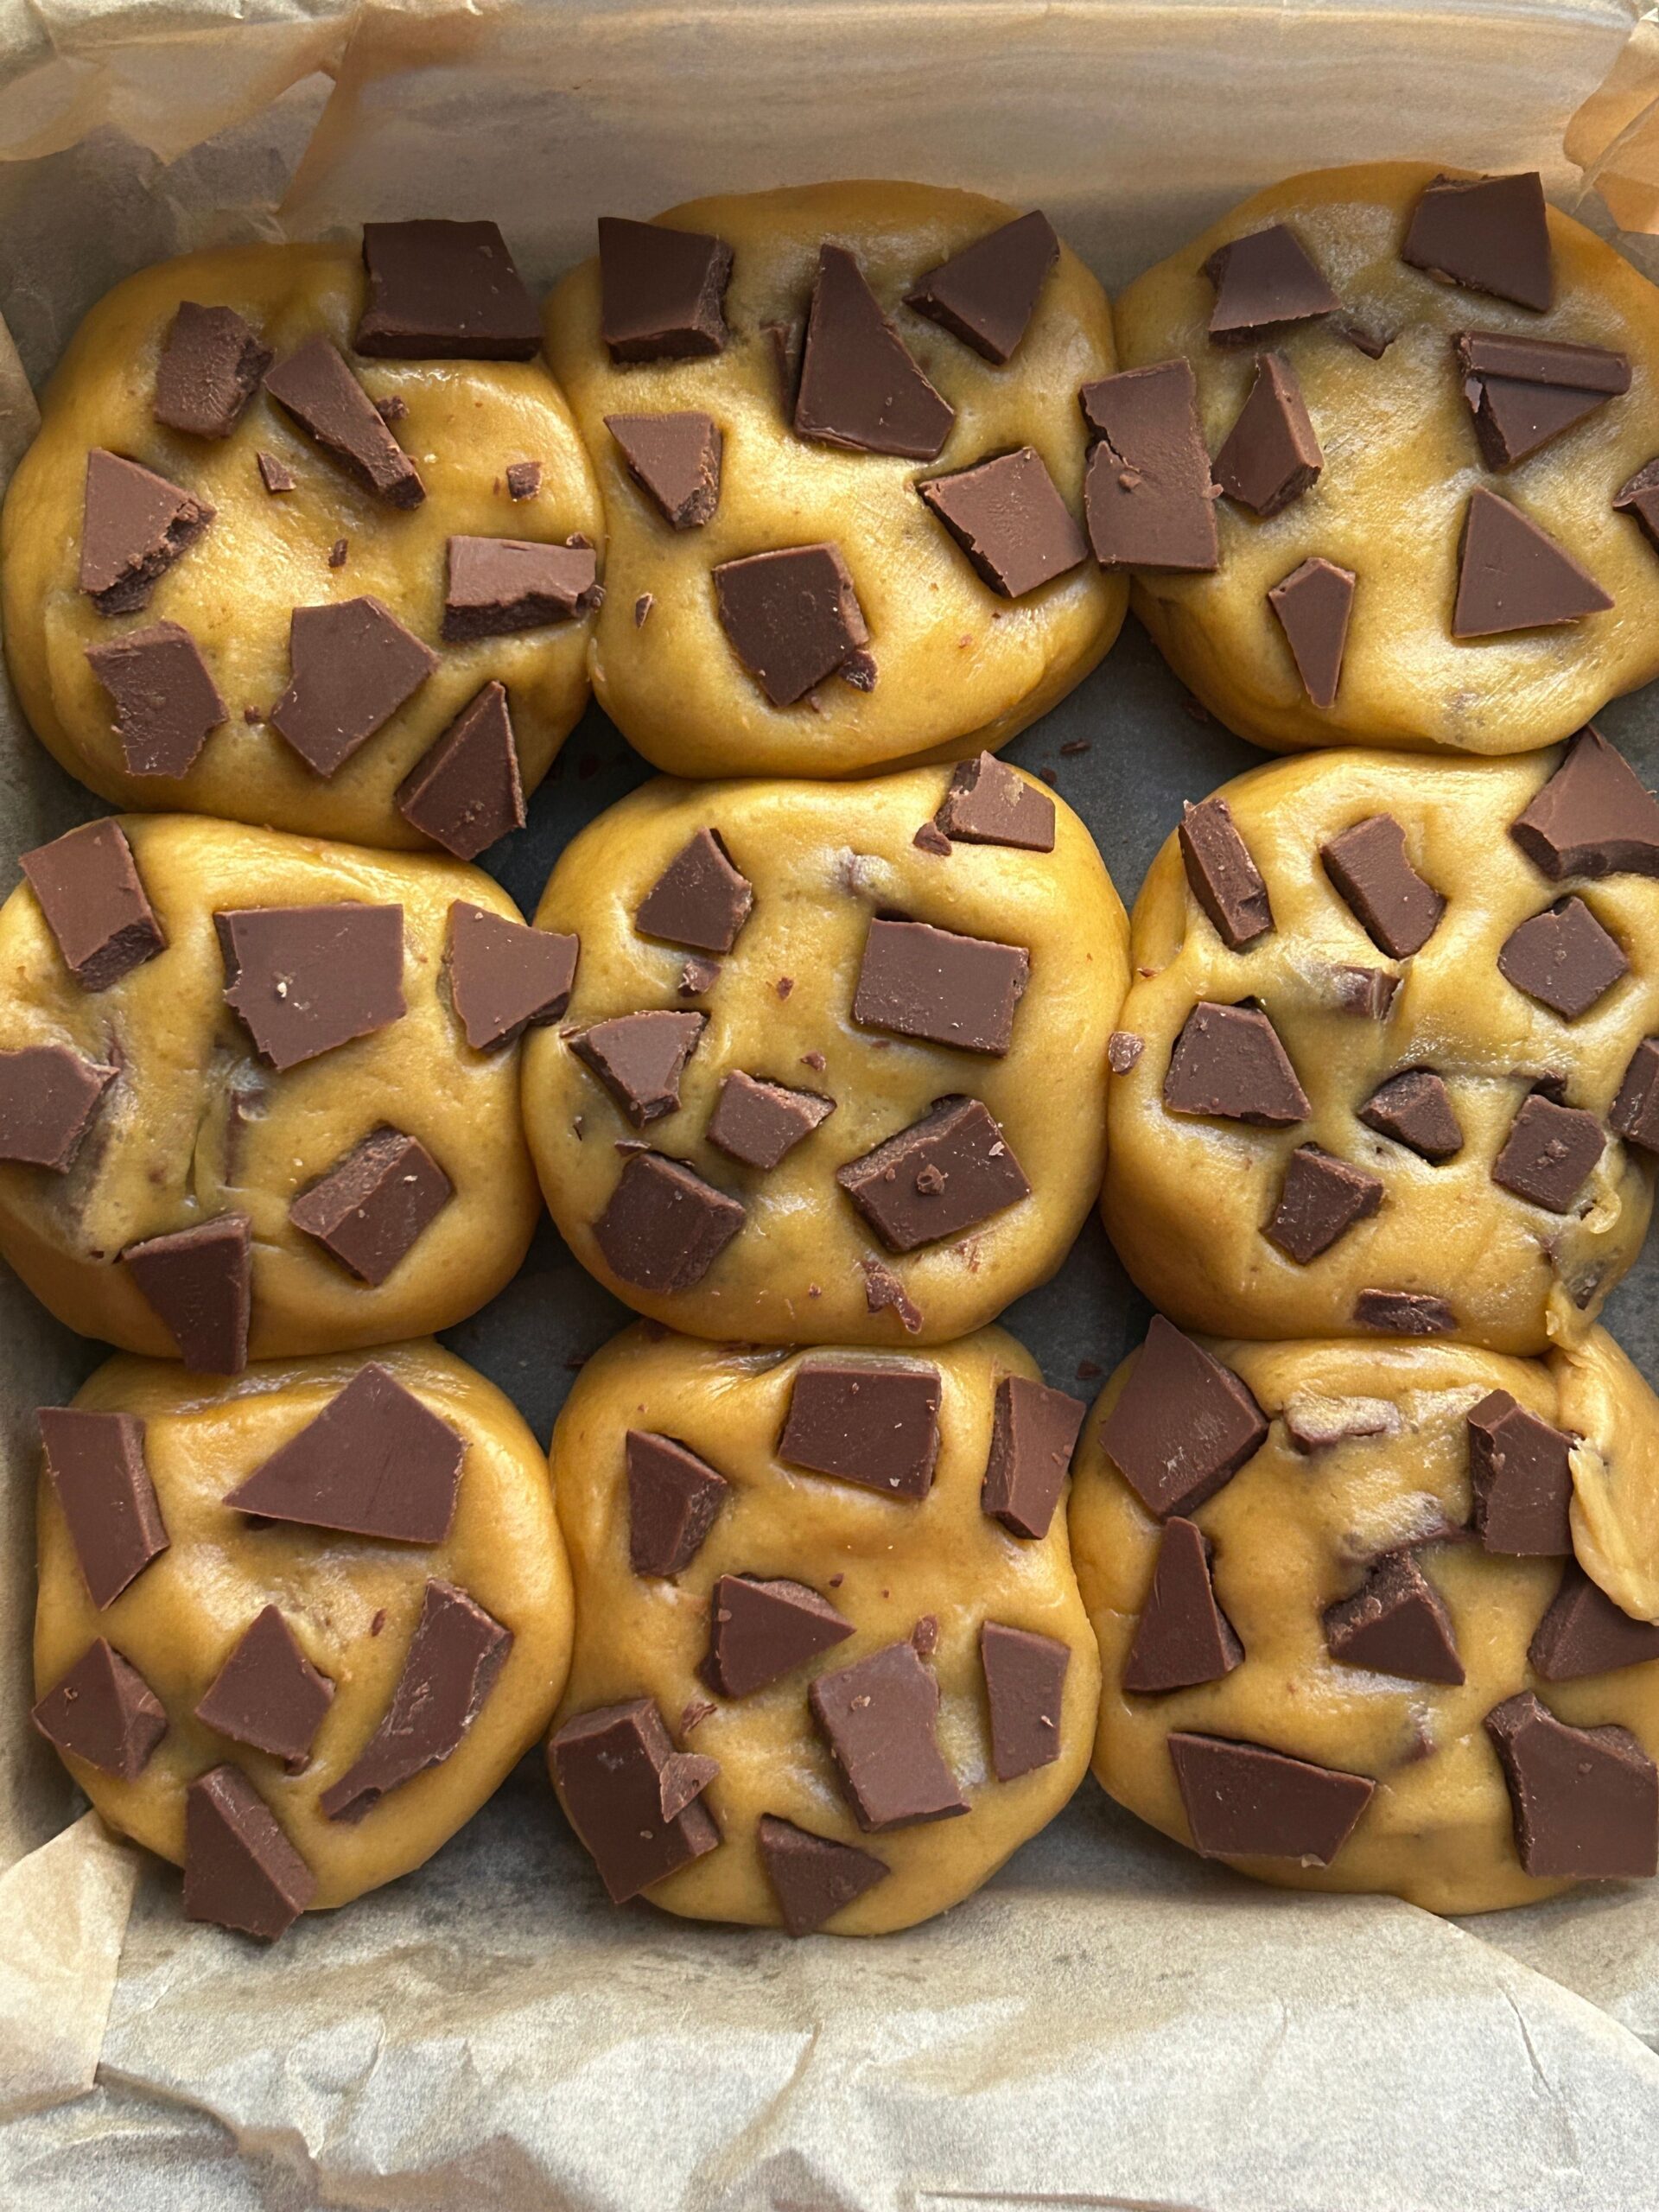

The cookies your grandmother pulled from the oven on a Saturday afternoon had a particular quality that’s hard to name. They were thick through the middle. The edges had that faint crispness. The chocolate pooled in dark pockets rather than spreading into thin, caramel-colored smears. You could smell the brown butter before you even reached the kitchen door.
Most of us have spent years trying to get back to that. And most of us keep getting something slightly wrong.
The good news is that chocolate chip cookies are not mysterious. The variables are real, and they’re fixable. Once you understand what each ingredient and each step actually does, the results stop being a matter of luck.
Table of Contents
It Starts Before You Preheat the Oven

The single most common reason cookies spread too thin is butter that’s too warm. Room temperature butter, in baking terms, means butter that holds a thumbprint but doesn’t squish cool to the touch, pliable but firm. When butter is soft enough to leave a grease stain on the wrapper, it’s too warm. That butter will melt almost instantly in a hot oven, and your cookies will race to the edges of the pan before the structure has time to set.
The fix is simple. Pull your butter from the refrigerator about 30 minutes before baking, no more. If your kitchen runs warm, check it at 20 minutes. You’re looking for butter that creams smoothly but still has some resistance. That texture is what holds the dough together long enough for the eggs and flour to do their work.
Cold butter, on the other hand, doesn’t cream well. It stays in chunks instead of beating into the sugar, which means the cookies won’t spread evenly and the texture turns dense rather than chewy. The sweet spot is narrow. It’s worth paying attention to.
What Brown Sugar Is Actually Doing
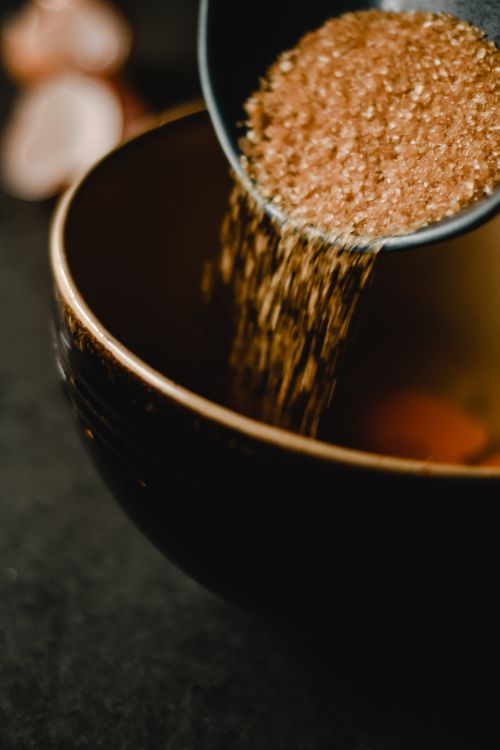
Most classic chocolate chip cookie recipes call for a mix of white and brown sugar, and that ratio matters more than people realize. Brown sugar contains molasses, which is hygroscopic it pulls and holds moisture. More brown sugar means a chewier, more tender cookie that stays soft longer. More white sugar means more spread and a crispier edge.
The ratio your grandmother likely used leaned toward brown. A cookie made with two parts brown sugar to one part white will have that thick, almost fudgy center that people mean when they say a cookie is chewy. If your cookies have been coming out too crisp, that’s probably the first thing to adjust.
And here’s the thing most recipes gloss over: after you cream the butter and sugar together, you need to actually cream them. Not just stir. Not just combine. Beat them together for a full two to three minutes until the mixture is pale, noticeably lighter in color, and fluffy. That process incorporates air. That air is part of what gives the cookie its lift. Skipping it is one of the most common shortcuts that quietly ruins the result.
The Flour Question
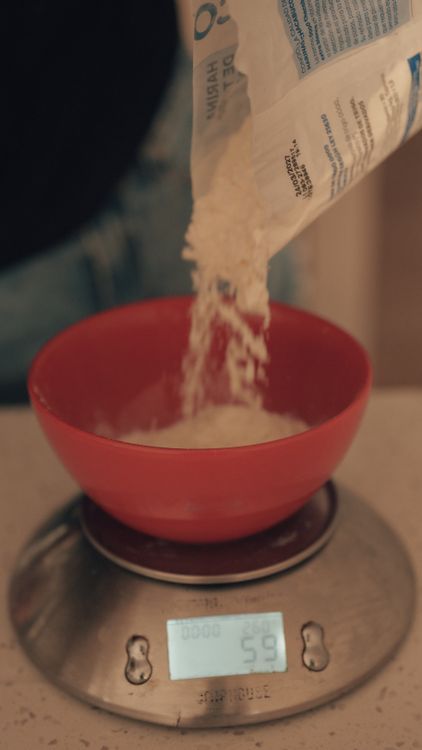
Measuring flour incorrectly is probably the most widespread baking error in American home kitchens. If you scoop your measuring cup directly into the flour bag, you’re likely packing in 20 to 30 percent more flour than the recipe calls for. That extra flour makes cookies dry, dense, and crumbly, the kind that snap apart rather than bend.
The correct method is simple. Spoon the flour into your measuring cup with a separate spoon until it’s heaped above the rim, then level it off with a straight edge. Or better: use a kitchen scale. Most baking recipes list gram weights for exactly this reason. A cup of all-purpose flour should weigh around 120 to 125 grams. If your cookies have been coming out too dry, start here.
The type of flour matters too, though not as dramatically as measuring does. All-purpose flour is the standard for a reason; it has enough protein to give the cookie structure without making it tough. Bread flour, which has more protein, produces a chewier cookie with slightly more pull. Cake flour goes the other direction, yielding a more tender, delicate crumb. For most people, all-purpose is the right choice. But if you want to experiment, bread flour is the more interesting direction.
Chill the Dough. This Is Not Optional.
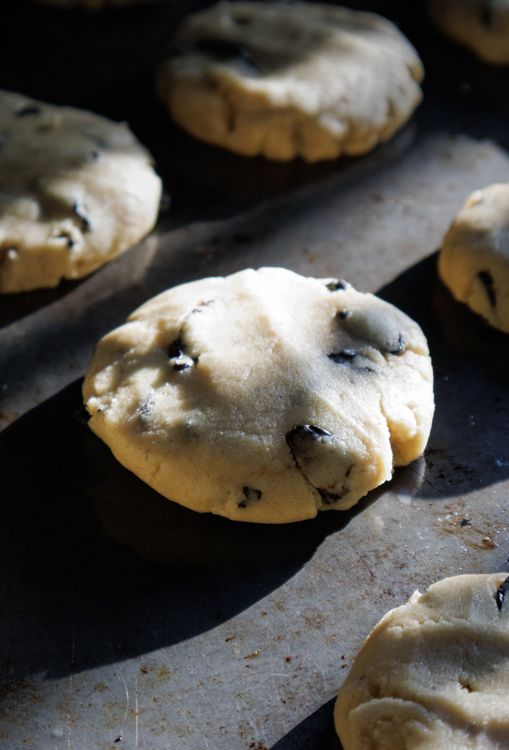
Chilling cookie dough before baking is the step most people skip because it requires patience, and cookie dough sitting in your refrigerator is a test of willpower. But the difference is real, and it’s worth understanding why.
When cookie dough rests in the cold, a few things happen. The flour fully hydrates, which improves the texture. The fats firm back up, which slows the spread in the oven. And the sugars begin a slow process that deepens the flavor, the same general principle that makes bread dough taste better after a slow rise. Even 30 minutes of chilling makes a noticeable difference. An hour is better. Overnight is better still, and the cookies will taste richer, more complex, more like the kind of thing you’d pay for at a bakery.
If you’ve ever made a batch of cookies straight from mixed dough and then made another batch from the same dough the next day, you already know this without knowing the reason.
Pull the cookies from the oven when they look underdone. The centers should still appear soft, slightly puffed, a little raw-looking. The edges should be set and just beginning to color. This is the moment. Not five minutes later.
Cookies continue cooking on the hot pan after they come out of the oven, a process called carryover cooking, and they firm up as they cool. If they look perfectly done in the oven, they’ll be overdone by the time you eat them. The cookies that break your heart (the ones that looked perfect and then turned out hard and dry) were left in two minutes too long.
Let them cool on the pan for five minutes before moving them. That resting time lets the structure finish setting. Move them too soon,n and they’ll fall apart. Leave them on the pan too long, and the bottoms will keep cooking from the residual heat. Five minutes. Then a wire rack.
One more thing: salt. A small pinch of flaky sea salt on top of each cookie right before it goes into the oven, not mixed into the dough, but placed on top, does something to chocolate that’s hard to explain until you’ve tasted it. The contrast sharpens the flavor of everything underneath. It’s a small step. It makes the cookies taste like someone who knew what they were doing made them.
Which, now, you do.
Sources
Detailed testing of chocolate chip cookie variables including butter temperature, sugar ratios, and chilling time</li>
Reference for flour measurement techniques and gram weight standards
This article was created with AI assistance and reviewed for clarity and accuracy.