
You’re about to start crafting a classic peach pie, where the quality of your ingredients and technique will make all the difference. Start with a flaky pie crust that balances structure and flavor. When selecting peaches, go for ripe yet firm ones, and consider how blanching and peeling can enhance the filling’s vibrancy. As you assemble this dessert, the key steps are to avoid a soggy crust and guarantee a bubbling, golden finish. But what if you only have frozen or canned peaches? Let’s explore how you can make the most of them.

Table of Contents
Key Takeaways
- Use a mix of butter and shortening for a flavorful and structured crust.
- Choose firm, ripe yellow peaches for the best flavor and texture.
- Pre-bake the bottom crust slightly to prevent sogginess.
- Bake at 425°F initially, then lower the temperature for even cooking.
- Add cinnamon and nutmeg to the peach filling for warmth and depth.
Pie Crust Essentials
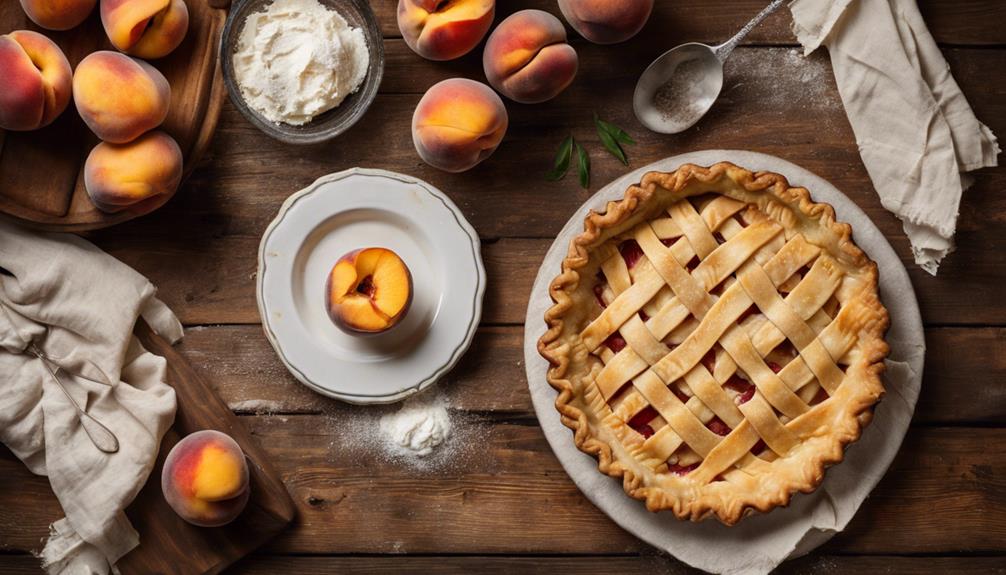
Crafting the perfect pie crust is essential to a delicious peach pie. You’ll want to use a blend of shortening and butter for the crust, as this combination offers the best texture and flavor. The butter adds a rich taste, while the shortening ensures the crust maintains its structure and doesn’t get soggy when you add the juicy peach filling. Don’t skip chilling the dough—it’s vital. Chilling helps the dough hold its shape during baking, preventing it from shrinking or becoming misshapen.
This recipe provides enough dough for your pie’s bottom and top crust. Start by rolling out the bottom crust and laying it in your pie dish. The shortening will give it the necessary structure, so there’s no need to par-bake the crust before adding your peaches.
Once your peach filling is ready, cover it with the top crust. This top layer will bake beautifully, creating a golden, flaky finish that perfectly complements the filling. Remember, the bottom crust supports the pie, while the top crust seals in all those delightful peach juices. Your effort in crafting this crust will make your peach pie truly exceptional.
Choosing the Right Peaches
With your pie crust ready, it’s time to select the perfect peaches for your filling. The right peaches will guarantee your pie has the ideal flavor, texture, and juiciness. Opt for ripe, firm yellow peaches without bruises or soft spots. These peaches will provide the best balance of sweetness and tanginess, enhancing your pie’s taste. Fresh peaches are the way to go, as they preserve the integrity of the filling far better than frozen or canned ones.
To ensure prime sweetness and juiciness, you can ripen peaches in a paper bag before using them. This simple step can make a significant difference in the final product. However, be cautious and avoid overly soft peaches, as they can lead to a mushy filling, which is far from ideal.

Here are some tips to guide your peach selection:
- Check firmness: Guarantee the peaches are firm but yield slightly to pressure.
- Inspect for freshness: Look for peaches with vibrant color and no blemishes.
- Balance flavor: Choose peaches that offer a harmonious mix of sweetness and tanginess.
Preparing Your Peaches

Peaches are the star of your pie, and preparing them correctly will guarantee your filling is as delicious as possible. Start by selecting ripe, firm peaches without bruises or soft spots. These will provide the best flavor and texture.
If you’ve chosen fresh peaches, blanch them in water for about 30 seconds. Immediately transfer them to an ice bath. This process loosens the skin, making it easier to peel them without losing any juicy goodness.
Once peeled, cut the peaches around the pit, aiming for 1/2-inch slices. This assures even distribution and a perfect balance in your pie filling.
While fresh peaches are ideal for their vibrant and juicy flavor, sometimes you might have to use frozen or canned peaches. If that’s the case, make sure you drain them thoroughly. Excess liquid from these preserved options can lead to a soggy pie crust—something you want to avoid.
Mixing the Filling
To achieve a mouthwatering filling, gently toss your sliced peaches with a splash of lemon juice. This will enhance their natural sweetness and prevent them from browning. Once your peaches are perfectly coated, set them aside and focus on the dry ingredients.
Combine sugar, flour, cinnamon, nutmeg, and salt in a separate bowl. This aromatic blend will give your peach filling a delightful balance of sweetness and spice.
Now, it’s time to mix everything. Pour the dry mixture over your prepared peaches and gently stir until the peaches are well coated. Be careful not to crush the fruit as you mix. This guarantees that the filling remains juicy and flavorful.
Before you top off your pie, don’t forget to dot the filling with small pieces of butter. This step adds richness and helps create a luscious texture as the pie bakes.
Here’s a quick checklist to make sure your filling is perfect:
- Mix thoroughly but gently to avoid crushing peaches.
- Balance flavors with sugar and spices.
- Dot with butter before adding the top crust.
With your filling ready, you’re one step closer to a delicious peach pie!
Assembling the Pie

Once you’ve prepared your filling, it’s time to assemble the pie. Begin by laying your prepared pie crust into a dish, ensuring it fits snugly along the bottom and sides.
Next, evenly layer the sliced and peeled peaches, creating a juicy and flavorful filling. To enhance this mixture, sprinkle your blend of sugar, a squeeze of lemon juice, flour, cinnamon, and a dash of nutmeg over the peaches. This combination amplifies the sweetness and adds a delightful depth of flavor.
Dot the filling with small pieces of butter before covering it with the top crust. This step adds a rich, creamy element to your pie as it bakes.
Carefully place the second pie crust over the filling. Now, it’s time to seal. Use a fluted edge or press down with a fork dipped in the egg wash to close your pie securely, preventing delicious juices from escaping during baking.
With everything in place, your pie is ready to bake. Remember, an initial high temperature will help achieve a golden brown crust, while the lower temperature guarantees a perfectly bubbling filling. Enjoy the process!
Baking Instructions
[TEXT]:Baking your peach pie to perfection involves a few essential steps. Begin by preheating your oven to 425°F. Place the pie on the center rack to ensure even baking. According to the recipe, bake it at this temperature for 10 minutes, then lower the heat to 350°F. Continue baking until the crust turns golden and the filling bubbles through the top crust. Keep an eye on the edges; if they brown too quickly, cover them with foil halfway through to prevent burning.
Once the pie is done, allow it to cool for about 15 minutes. This cooling time is vital as it lets the filling set, making it easier to slice and serve. For a delightful dessert, serve your peach pie with a dollop of whipped cream or a scoop of vanilla ice cream.
Here’s a quick checklist to ensure success:
- Monitor the crust: Cover edges with foil if they brown too quickly.
- Check the filling: Look for bubbling to confirm it’s finished.
- Plan for storing: Keep leftovers at room temperature for two days, refrigerate for up to four days, or freeze for up to six months.
These steps will help you achieve a perfectly baked peach pie every time.
Avoiding a Soggy Pie

Start by slightly pre-baking the bottom crust before adding the filling to keep your peach pie crisp.
After placing the crust in the pan, you must add the peaches only and bake at a high temperature, around 425°F, to set the crust quickly.
Also, avoid letting the peach juices linger too long on the crust to prevent sogginess.
Crust Preparation Tips
Achieving the perfect peach pie starts with ensuring your crust remains crisp and delicious. To prevent a soggy bottom, you should pre-bake the bottom crust slightly before adding the filling. This important step helps set the crust, creating a strong foundation for your pie.
After pre-baking, brush the bottom crust with an egg wash. This simple technique forms a protective barrier, keeping it crisp by sealing out moisture.
Next, consider using a lattice top crust. This adds visual appeal and allows steam to escape, reducing excess moisture in the filling. Remember, excess moisture can lead to a soggy pie, so it’s crucial to initially bake at a high temperature. This helps set the crust quickly, preventing peach juices from soaking.
While baking, watch for a bubbling filling and a golden brown crust. These indicate that the pie is ready and the crust is perfectly crisp. Here are some key tips to remember:
- Pre-bake the bottom crust to set it and prevent sogginess.
- Brush with egg wash to create a moisture barrier.
- Use a lattice top crust to allow steam to escape.
Follow these steps, and you’ll be well on your way to a perfect peach pie.
Filling Moisture Control
A perfect peach pie relies on a well-prepared crust and managing the filling’s moisture to avoid sogginess. Start by ensuring your fresh peaches are added to the crust only after it’s placed in the pan. This step helps prevent a soggy bottom by minimizing the time juices rest on the crust.
For added moisture control, consider slightly pre-baking the bottom crust before introducing the filling. This extra step can provide a barrier against the peach juices.
When baking, begin at a high temperature, around 425°F. This initial heat sets the crust quickly, sealing in the juices and helping the pie hold its shape.
Keep an eye on the top of your pie as you continue baking. You’ll know it’s ready when the crust turns a beautiful golden brown, and the filling starts bubbling. This bubbling indicates that the inside has reached a temperature where excess moisture evaporates, ensuring the filling is just right.
Storing Your Peach Pie
A little preparation guarantees that your peach pie stays fresh and delicious. To enjoy its flavor, you can store it at room temperature, loosely covered with storage wrap or foil, for up to two days. This method preserves the delightful crunch of your pie’s topping.
If you need to keep your peach pie fresh a bit longer, refrigerate it. Cover it well, and it’ll stay delicious for up to four days.
For those who like to plan or have leftovers, freezing is an excellent option. Wrap the pie tightly in storage wrap and aluminum foil to protect it from freezer burn, ensuring it remains tasty for up to six months. When you’re ready to serve, a sprinkle of Turbinado sugar can add a delightful crunchy topping, elevating the pie’s texture and flavor.
Here’s a quick guide to help you choose the best storage method:
- Room Temperature: Up to 2 days, covered loosely.
- Refrigerate: Up to 4 days in the fridge.
- Freeze: Up to 6 months, wrapped securely.
With these tips, your peach pie will always taste its best!
Using Frozen or Canned Peaches

Switching to frozen or canned peaches for your peach pie can be a game-changer if fresh ones aren’t available. While fresh peaches are preferred for their taste and texture, frozen or canned options can yield a delicious pie with proper preparation.
Start by thawing frozen peaches completely. This step is vital to guarantee your peach filling has the right consistency. Once melted, drain excess juices thoroughly to avoid a watery filling that could ruin your pie’s texture.
When it comes to canned peaches, selecting those packed in juice rather than syrup is essential to achieving a more natural flavor. Peaches in syrup can make your pie overly sweet, so choose wisely. Additionally, drain canned peaches well and pat them dry with a paper towel. This helps eliminate any excess liquid that might seep into your peach filling, ensuring it’s neither too runny nor too sweet.
Whether you’re using frozen peaches or canned peaches, the goal is to replicate the experience of fresh peaches as closely as possible. Following these steps, you’ll enjoy a flavorful pie with a delightful balance of sweetness and natural peach flavor.
Enhancing the Flavor
To elevate your peach pie to new heights, consider adding a hint of cinnamon and nutmeg to the filling. These spices provide warmth and depth, complementing the natural sweetness of the peaches beautifully. Don’t forget to incorporate fresh lemon juice; it brightens the taste and balances the sweetness, invigorating every bite. A touch of vanilla extract will enhance the flavor profile for added depth and richness, giving your peach pie a gourmet twist.
Dotting the peach filling with butter before sealing it with the crust is a simple yet effective flavor enhancement. The butter melts and mingles with the peach juices, creating a luscious texture and rich taste. Additionally, experimenting with different sugar types, like Turbinado sugar, can add a delightful crunch and an enhanced sweetness that regular granulated sugar mightn’t provide.
Here’s how you can enhance your peach pie:
- Spice it up: Add cinnamon and nutmeg for warmth.
- Brighten with citrus: Use lemon juice to invigorate the filling.
- Try different sugars: Turbinado sugar adds crunch and sweetness.
These small tweaks can transform your peach recipes, ensuring your pie stands out with unforgettable flavor.
Conclusion
You’ve mastered the art of crafting a perfect peach pie! You’ve guaranteed a vibrant and flavorful filling by selecting a firm, ripe peach and blending it with just the right mix of sugar and spices. Your flaky crust provides the perfect vessel; baking it to a golden brown seals the deal. Serve it with a scoop of ice cream or a dollop for an irresistible treat. Enjoy every sweet, juicy bite!
FAQs
1. What Is the Best Thickener for Peach Pie?
When deciding the best thickener overall, consider cornstarch vs. tapioca for consistency or flour vs. arrowroot for thickness. Gelatin vs. pectin affects texture. Use ClearJel vs. instant tapioca based on preference. Experiment with natural vs. artificial thickeners for taste.
2. How Do You Keep the Bottom Crust of a Peach Pie From Getting Soggy?
To prevent a soggy bottom crust, you can blind-bake using pie weights. Pre-cook fruit and use cornstarch over flour. Apply an egg wash, layer fruit and crimp edges, use a lattice top, and cool on a rack with foil.
3. How Do You Keep a Peach Pie From Being Runny?
Choose the right peach variety and pre-cooked fruit to prevent a runny pie. Use cornstarch, flour, or pectin powder. Add lemon juice, control sugar content, maintain proper baking temperature, and allow cooling time. Adjust crust thickness accordingly.
4. Do You Leave the Skins on Peaches for Peach Pie?
Peach skin, yes or no? The skin debate: leaving skin on offers aesthetic appeal, texture preference, and nutritional value. Skins on/off affects flavor impact. Easy peeling is a time-saving option. Ultimately, it’s a personal preference.