
You’ll find that making a classic Banana Pudding isn’t as intimidating as it seems. Imagine combining ripe bananas, crisp vanilla wafers, and creamy pudding into a harmonious dessert perfect for any occasion. Following simple preparation steps and adding a touch of vanilla extract, you can create a dish to please everyone’s taste buds. But what’s the secret to preventing bananas from browning and ensuring a perfectly layered pudding? Let’s explore those details and more to elevate your next dessert experience.

Table of Contents
Key Takeaways
- Layer vanilla wafers, sliced bananas, and pudding mixture in a serving bowl for a classic banana pudding.
- Chill the assembled pudding for 4-8 hours to enhance flavors and soften the wafers.
- Use ripe bananas and select high-quality pudding mix for the best taste.
- Garnish with whipped cream and serve chilled for a visually appealing dessert.
- Store leftovers in the refrigerator, tightly covered, and consume within three days.
Ingredients Needed
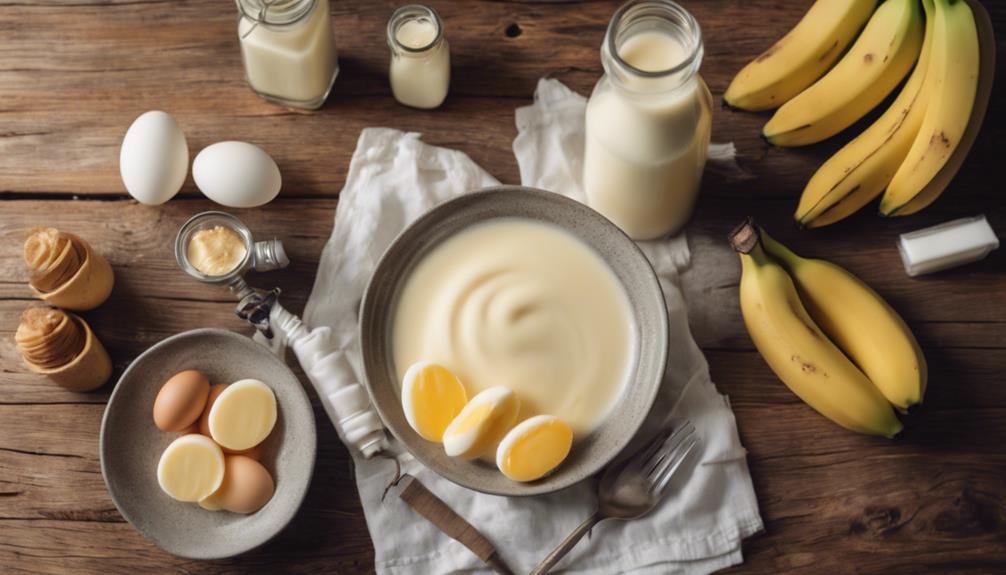
What do you need to make a delicious banana pudding?
First, you’ll need ripe bananas essential for that sweet, fruity flavor.
The star of the show is the pudding mixture, usually made from pudding mix, milk, and sweetened condensed milk. This combination creates the creamy base that makes banana pudding so irresistible.
Vanilla wafers are needed to give your dessert its traditional texture and taste. These crunchy cookies add a delightful contrast to the smooth pudding.
Sliced bananas are layered between the pudding and wafers, providing bursts of fresh fruitiness in each bite. For that extra touch of flavor, remember to include some vanilla extract.

Whipped topping is the final ingredient, adding a light and airy finish to your pudding.
Once you’ve assembled everything, it’s essential to chill the dessert—chilling melds the flavors, enhancing the overall taste and texture.
While fresh banana pudding is best enjoyed, leftovers can be stored in the refrigerator. Proper storage will keep your pudding delicious for up to three days, ensuring you can savor every last spoonful of this traditional dessert.
Preparation Steps
First, gather all your ingredients to ensure you have everything you need.
Next, combine sweetened condensed milk, water, and vanilla pudding to prepare the pudding mixture.
Gather Necessary Ingredients
Before starting the recipe, ensure you’ve gathered all the necessary ingredients, such as milk, instant vanilla pudding mix, sweetened condensed milk, vanilla extract, frozen whipped topping, vanilla wafers, and bananas. Having everything ready from the start will save you time and make the process smoother.
First, check your pantry for the instant vanilla pudding mix. It’s important to pick a high-quality mix as it forms the base flavor of your pudding.
Next, grab a can of sweetened condensed milk. This adds a rich, creamy sweetness that’s hard to beat. You’ll also need whole milk to mix with the pudding, ensuring a luscious, thick texture.
Remember to thaw the frozen whipped topping before using it. It adds a light, airy component that balances the dessert.
Vanilla wafers are essential for that classic crunch, so ensure you have enough.
Prepare Pudding Mixture
Now that you’ve gathered all your ingredients, start beating the cream cheese until smooth. This step guarantees that your pudding mixture has a creamy, lump-free base.
Next, add the sweetened condensed milk to the cream cheese and beat them together until well combined. The mixture should look silky and glossy.
Then, mix your instant vanilla pudding with the milk. Keep mixing until the pudding thickens and all the ingredients are fully incorporated. This will establish the core of your pudding mixture. Stir in a splash of vanilla extract for an added layer of flavor.
Now, it’s time to fold in the whipped topping. Be gentle during this step; you want to maintain the light, airy texture of the whipped topping. Use a spatula and fold until everything is evenly combined.
Your pudding mixture is now ready. At this point, it’s smooth, creamy, and bursting with flavor. It’s the perfect consistency for the next steps, where it will be layered with bananas and vanilla wafers to create the ultimate banana pudding dessert.
Assemble and Chill
Grab a large serving bowl and start by spreading a layer of Nilla wafers on the bottom. Next, add a layer of sliced bananas over the wafers. Follow this with a generous layer of the pudding mixture you prepared earlier. Repeat this layering process—Nilla wafers, sliced bananas, and pudding—until you reach the desired thickness. Make sure every bite will get a perfect balance of flavors and textures.
| Layer Number | Ingredients |
|---|---|
| 1 | Nilla wafers |
| 2 | Sliced bananas |
| 3 | Pudding mixture |
Finish assembling your dessert by topping it with a generous amount of whipped cream. This light and creamy finish will make your banana pudding irresistible. Once assembled, cover the bowl with plastic wrap or a lid and refrigerate for at least 4-8 hours. This chilling time allows the flavors to meld together and the dessert to set properly, enhancing taste and texture.
Assembling Layers
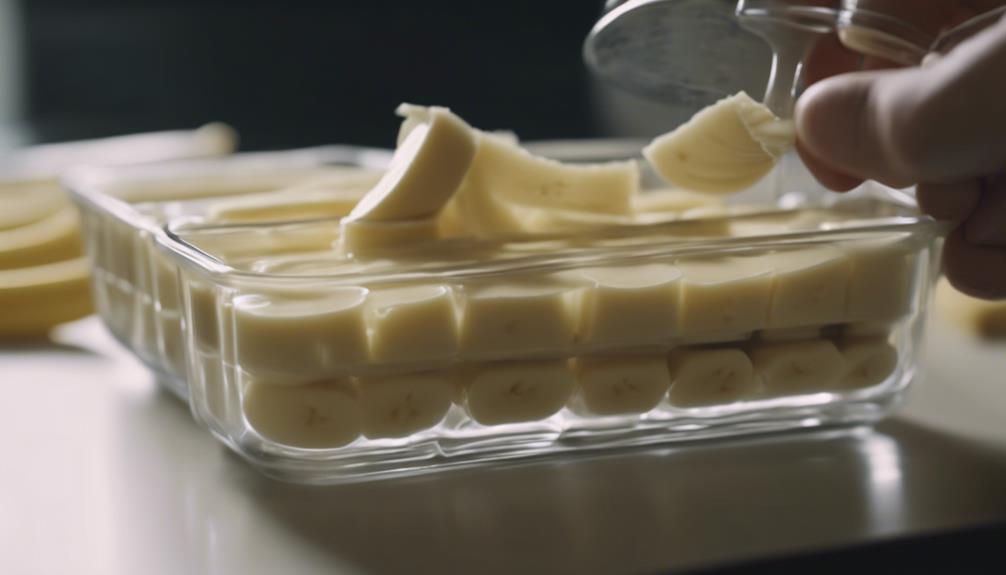
Now, it’s time to layer your banana pudding for the perfect consistency.
Start with vanilla wafers at the bottom, followed by sliced bananas, and then spoon the pudding mixture on top.
Repeat these layers until the dish is filled, making sure to end with a smooth pudding layer.
Layering Ingredients Order
Start by laying down a base of vanilla wafers to form the foundation of your banana pudding. This provides a crisp texture that complements the creamy layers.
Next, slice your bananas and evenly distribute them over the wafers, creating a delicious fruity layer. Once the bananas are in place, pour your prepared pudding mix over them, ensuring they cover them completely. This creamy layer binds everything together.
Now, repeat the layering process. Add another layer of vanilla wafers, more sliced bananas, and more pudding mix. Continue layering until you’ve used all your ingredients, making sure to end with a generous layer of pudding mix on top. This final layer will give your dessert a smooth, appealing finish.
After assembling all the layers, spread a whipped topping over the pudding. This adds a light, airy texture that contrasts beautifully with the dense layers beneath.
Finally, refrigerate the assembled banana pudding for a few hours. Chilling allows the flavors to meld and the wafers to soften slightly, creating a cohesive, delightful dessert.
Enjoy your perfectly layered banana pudding!
Achieving Perfect Consistency
To achieve the perfect consistency in your banana pudding, focus on evenly distributing each layer of wafers, bananas, and pudding mix. Start by laying down a foundation of vanilla wafers at the bottom of your serving dish. This base provides the essential crunch that contrasts beautifully with the creamy pudding mixture and soft, sliced bananas.
Next, add a layer of sliced bananas on top of the wafers. Make sure the banana slices are evenly spread to guarantee each bite is packed with flavor. Pour a generous amount of the pudding mixture over the bananas, ensuring it seeps through the gaps and covers them entirely.
This method of alternating layers—vanilla wafers, sliced bananas, and pudding mixture—helps achieve a balanced texture and taste throughout the dessert.
Repeat the layering process until you reach the top of your dish. Once assembled, cover the dish and allow it to chill in the refrigerator.
Chilling Time
Chilling your banana pudding for at least 4-8 hours guarantees that the flavors meld and the texture sets perfectly. This essential chilling time guarantees that all the layers of wafers, bananas, and the creamy mixture combine harmoniously. Allowing the pudding to sit in the refrigerator for the recommended time enhances the taste and creaminess of your dessert, making each bite more delightful. It’s important to avoid serving your banana pudding early, as this can result in an uneven texture and less integrated flavors.
When you chill the pudding, the wafers absorb moisture from the creamy mixture, becoming soft and cake-like. Meanwhile, the bananas infuse their sweetness throughout, and the pudding itself firms up to a spoonable consistency. Without this chilling period, the components won’t have enough time to come together, leaving you with a less satisfying dessert.
Serving Tips
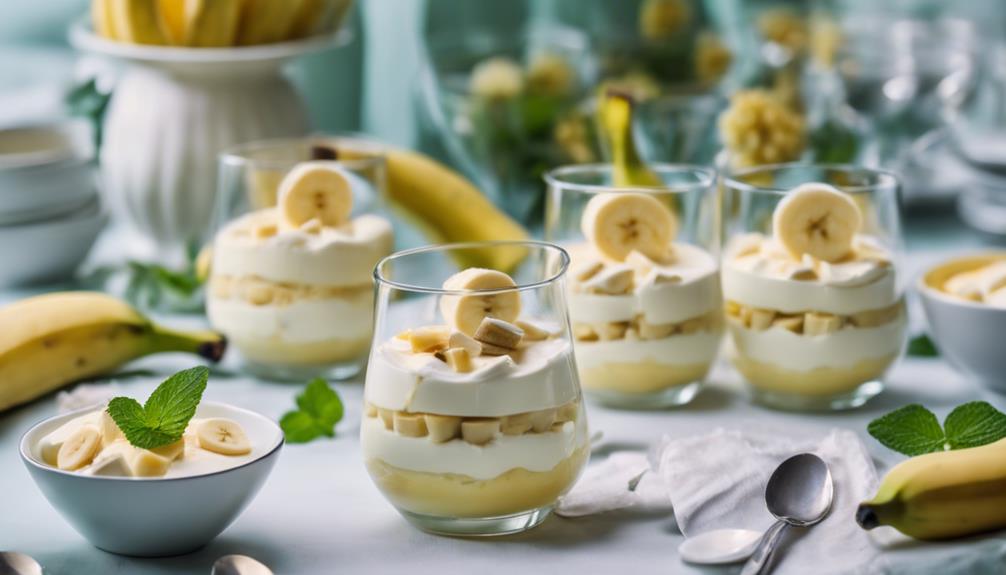
Once your banana pudding has chilled to perfection, it’s time to consider the best ways to serve it. Start by scooping the creamy pudding into individual serving dishes or bowls. This makes portioning easy and guarantees everyone gets a fair share.
To make your dessert look as good as it tastes, garnish each serving with a vanilla wafer or a slice of banana. This simple touch adds visual appeal and a bit of texture. Remember, banana pudding is best enjoyed chilled, so serve it straight from the refrigerator for optimal flavor and consistency.
For an elegant touch, provide dessert forks or spoons to enjoy the pudding. The forks can help guests easily navigate the creamy pudding and banana slices, making the dessert experience more enjoyable.
Here are some tips to keep in mind:
- Portion Control: Use individual serving dishes to manage portions easily.
- Garnishing: Add a vanilla wafer or banana slice on top for a decorative and tasty touch.
- Chilled Serving: Serve the pudding straight from the refrigerator for the best texture and taste.
Whether it’s a family gathering, potluck, or picnic, your beautifully served banana pudding will surely be a crowd-pleaser.
Storage Instructions
Storing your banana pudding correctly guarantees it stays fresh and delicious for up to three days. To maintain its quality, cover the pudding tightly with storage wrap. This important step prevents it from absorbing unwanted odors from the refrigerator, ensuring that each bite tastes as delightful as when you first made it.
Place your banana pudding in the refrigerator once you’ve securely wrapped it. Chilling is essential not only for food safety but also for enhancing its flavors and texture. Before serving, make sure it’s well-chilled, as this will make the dessert even more enjoyable.
It’s best to avoid freezing banana pudding. Freezing can alter its consistency and texture, leading to a less desirable eating experience when thawed. Focus on consuming it within three days to fully appreciate its deliciousness without compromising quality.
If you have any leftovers, don’t worry— they’re usually minimal due to the pudding’s crowd-pleasing nature. However, following these storage instructions will ensure that any remaining portions are just as satisfying as the first serving. Enjoy your delightful banana pudding, fresh and delicious, every time!
Freezing Details
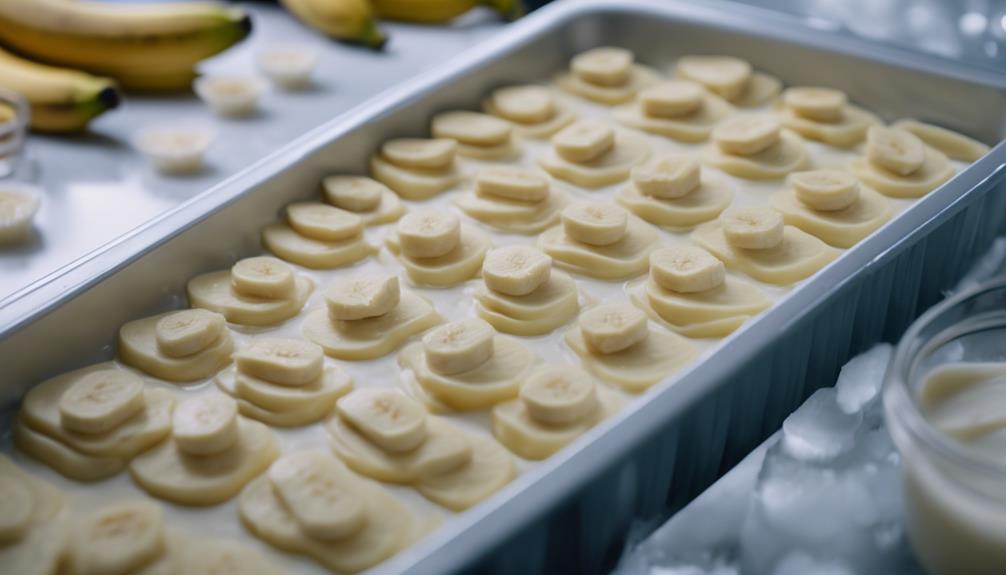
It would be best if you reconsidered refreezing banana pudding. The texture changes can make it watery and less creamy, so it’s best to enjoy it fresh.
If you have leftovers, store them in the refrigerator and consume them within three days for the best taste and quality.
Proper Storage Techniques
Freezing banana pudding isn’t recommended because it can greatly alter the texture and flavor. Banana pudding doesn’t freeze well due to the texture changes in both the pudding and the bananas, which can result in a less desirable outcome. Instead of freezing, you should focus on proper storage techniques to maintain its quality.
You might’ve some leftovers when you’ve made banana pudding right before serving. Leftovers are typically minimal because of the dessert’s popularity, but if you do have some, here’s how to store them properly:
- Refrigerate for at least: Cover the pudding tightly with plastic wrap or transfer it to an airtight container. This helps prevent the pudding from absorbing other odors in the fridge.
- Up to three days: Properly stored banana pudding can last in the refrigerator for up to three days. Beyond this period, the bananas may become too mushy, and the overall texture may deteriorate.
- Avoiding texture changes: Keep the pudding at a consistent, cold temperature to avoid any texture changes that could make the dessert less enjoyable.
Thawing and Serving
To enjoy the best texture and flavor, thaw banana pudding in the refrigerator for several hours before serving. This method guarantees that the pudding retains its creamy consistency, which can be compromised if thawed too quickly or at room temperature. While freezing banana pudding isn’t ideal due to the texture changes it causes, there are ways to manage leftovers if you find yourself with more than you can immediately eat.
When you’re ready to serve, ensure the pudding has been in the refrigerator long enough to thaw fully. Quick thawing methods, like microwaving, can ruin the texture and make the pudding watery. Always aim to enjoy fresh banana pudding for the best experience.
Here’s a quick reference table to help you manage thawing and serving:
| Step | Action | Notes |
|---|---|---|
| Thawing Method | Thaw in refrigerator | Preserves creamy texture |
| Serving Time | Serve immediately | Best enjoyed fresh |
| Leftovers | Minimal expected | Due to its popularity and taste |
Freezing banana pudding should be your last resort. If you freeze it, remember that thawing is essential to maintaining as much of the original texture as possible. Always prioritize enjoying it fresh whenever you can.
Bananas and Browning
Preventing bananas from browning in banana pudding is crucial for maintaining its visual appeal and flavor. To prevent bananas from browning, start by selecting slightly green bananas. These bananas are firmer and have a slower rate of oxidation, which helps keep them looking fresh longer.
Here are some effective ways to prevent bananas from browning:
- Sprinkling Lemon Juice: Lightly coat the sliced bananas with lemon juice. The acidity in the lemon juice slows oxidation, which helps maintain the bananas’ color.
- Rinsing with Club Soda or Water: Before adding the bananas to your pudding, rinse them with club soda or water. This rinse can help delay the browning process by reducing exposure to air.
- Airtight Storage: Once you’ve assembled your banana pudding, store it in an airtight container and refrigerate. This helps keep the bananas fresh and prevents them from quickly turning brown. Serving the pudding within 8 hours of assembly also ensures ideal freshness.
Alternative Ingredients
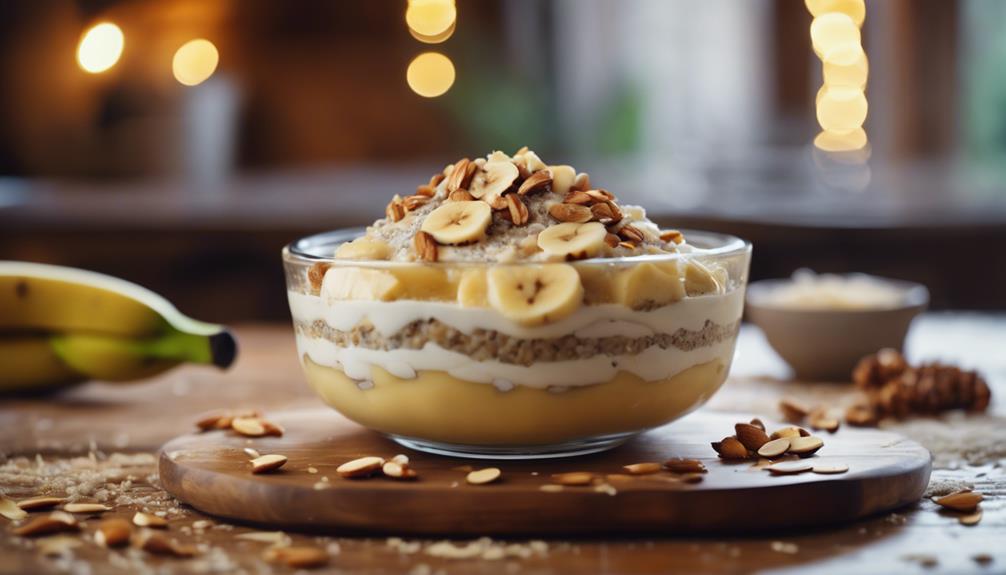
Exploring alternative ingredients can elevate your banana pudding and cater to various dietary preferences. Instead of the usual vanilla pudding, you can use banana-flavored or extract to intensify the banana taste. Replace store-bought Cool Whip with homemade whipped cream for a richer, creamier texture. Remember, though, that it might not stay stabilized as long.
Consider using alternative cookies like graham crackers, ginger snaps, or even biscotti instead of traditional Nilla wafers. This can add a unique crunch and flavor to your dessert. For those with dietary restrictions, experimenting with almond or coconut milk can provide a lactose-free or vegan-friendly option without compromising taste.
Adding a pinch of cinnamon or nutmeg can subtly enhance the flavor profile, giving your banana pudding a warm, spiced undertone. These small tweaks can make a big difference in catering to various dietary preferences and creating a memorable, delicious dessert.
| Ingredient | Alternative Options |
|---|---|
| Pudding | Banana-flavored pudding, Banana extract |
| Cookies | Graham crackers, Ginger snaps, Biscotti |
| Milk | Almond milk, Coconut milk |
Reader Feedback
Reader feedback highlights how experimenting with alternative ingredients can lead to delightful and personalized banana pudding creations. Many readers praised the simplicity and deliciousness of the best banana pudding recipe, noting that it’s easy to make and versatile for various gatherings and events.
Whether preparing a classic Southern dessert for a family gathering or just whipping up a quick homemade pudding, banana pudding recipes are flexible and guaranteed to fit every occasion.
Comments sections combine shared experiences, recommendations, and reviews of different banana pudding recipes. Many readers fondly recall personal anecdotes and memories about making or enjoying this dessert, emphasizing its role in creating lasting family traditions.
Here are some common themes from reader feedback:
Variations and Tips:
- Suggestions for ingredient swaps include using vanilla wafers or graham crackers.
- I am adding a twist by incorporating chocolate or caramel.
Ease of Preparation:
- They highlight how the recipes are straightforward and require minimal effort.
- I am sharing shortcuts and time-saving techniques.
Personal Stories:
- Memories of family gatherings where banana pudding was the star dessert made.
- Testimonials about how the best banana pudding recipe has become a cherished family staple.
Reader feedback underscores the joy and nostalgia tied to this beloved dessert.
Conclusion
You’re all set to create a mouthwatering banana pudding that’ll wow your friends and family! Just follow the steps, let it chill, and serve with a generous dollop of whipped cream.
Don’t worry about browning bananas; a little lemon juice can keep them fresh. Feel free to get creative with alternative ingredients, too.
Enjoy this classic dessert, and don’t forget to share your feedback. Happy indulging!
FAQs
1. What Keeps Bananas From Turning Brown in Banana Pudding?
To keep banana slices from turning brown, use citric acid or lemon juice and store them in an airtight container with plastic wrap. Ascorbic acid and refrigeration tips also help maintain freshness and visual appeal.
2. How Is Pudding Made From Scratch?
To make pudding from scratch, heat whole milk until it simmers. Whisk egg yolks, sugar ratio, and cornstarch mixture. Gradually add hot milk and cook until thick. Stir in butter and vanilla extract. Begin the cooling process.
3. What Ingredients Are in Patti Labelle’s Banana Pudding?
In Patti’s cookbook, you’ll find vanilla pudding mix, sweetened condensed milk, cream cheese, whipped cream, vanilla wafers, bananas, and vanilla extract. This southern classic, one of LaBelle’s desserts, features pudding layers and a special twist.
4. How Do You Make Banana Pudding Less Runny?
Adjust the milk ratio and use a cornstarch thickener or flour mixture to make your pudding less runny. Increase the cooking time, add egg yolks, and consider adding gelatin. For the best texture, don’t forget the chilling process.