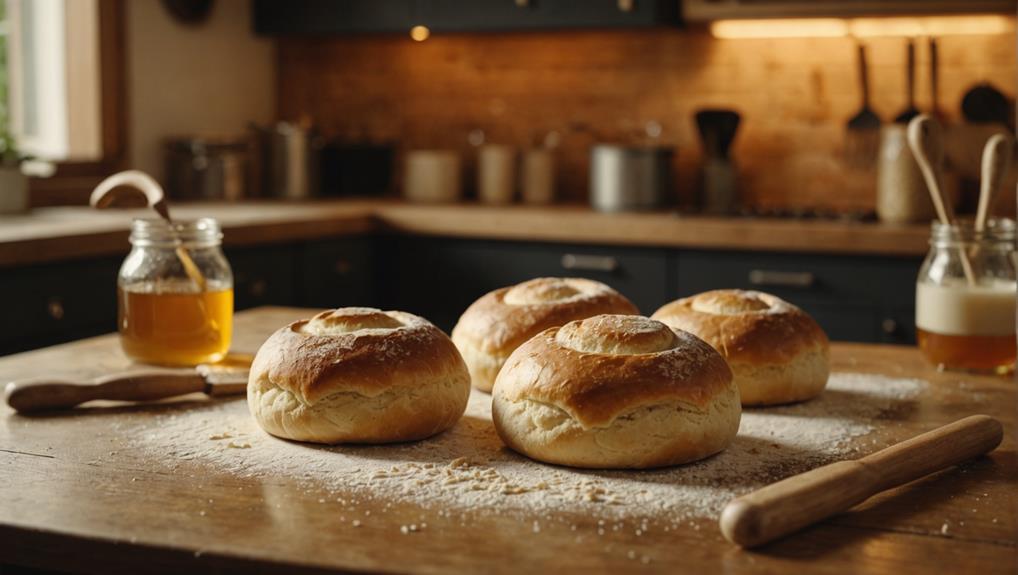
Imagine the aroma of freshly baked rolls wafting through your kitchen, inviting warmth and comfort into your home. You’ll start by guaranteeing yeast with warm milk and sugar, creating the foundation for your dough. Adding butter, an egg, salt, and flour, you’ll knead until smooth. Once the dough rises, it’s time to shape it into 14-16 pieces, experimenting with various forms. After baking these golden beauties, brushing them with melted butter adds an irresistible touch. But before you take that first bite, let’s explore how to ensure your rolls are perfectly soft and fluffy every time. Learn more about Homemade Rolls Recipe.

Table of Contents
Key Takeaways
- Activate yeast by whisking warm milk, RapidRise yeast, and sugar.
- Knead dough until smooth and elastic, then let it rise for 1-2 hours.
- Divide dough into 14-16 pieces and shape into tight balls.
- Preheat oven to 375°F and bake rolls for 12-15 minutes until golden brown.
- Store cooled rolls in airtight containers or freeze them for longer storage.
Ingredients
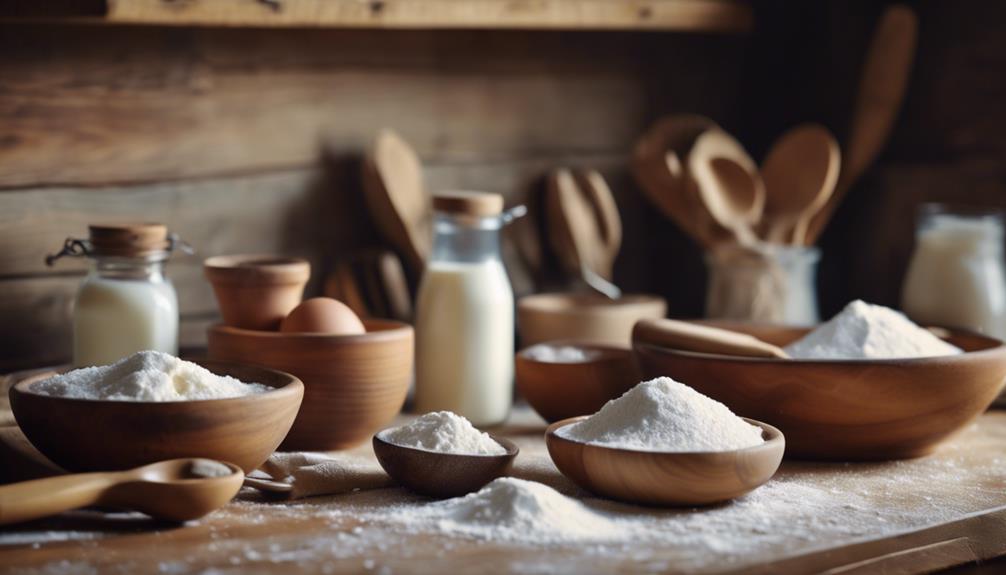
You’ll need flour, yeast, sugar, milk, butter, an egg, and salt to make delicious homemade rolls. These ingredients each play an important role in creating the perfect roll. Start by ensuring you have the right type of yeast; RapidRise yeast is recommended for quick and reliable results, helping your rolls rise beautifully.
Accurate measurements are key. Use a kitchen scale or measuring cups to get the exact amount of flour you need. Flour forms the structure, while yeast makes the dough rise. Sugar adds sweetness and feeds the yeast, helping it activate. Salt enhances the overall flavour, balancing the sweetness.
Milk is crucial for activating the yeast and keeping the dough soft and tender. Warm it slightly to the right temperature to ensure the yeast activates properly. Butter adds richness and a smooth texture. Melt the butter for easy mixing. Don’t forget the egg; it binds everything together and adds a touch of richness.
Proper preparation of these ingredients sets the stage for successful homemade rolls. By measuring accurately and understanding each ingredient’s significance, you’ll be well on your way to baking delightful, fluffy rolls.
Preparing the Dough
With your ingredients ready, whisk warm milk, yeast, and sugar together to activate the yeast for the dough. Let the mixture sit for about 5 minutes until it becomes frothy. This step is vital in any homemade roll recipe to ensure the yeast is alive and ready to help your dough rise.

Next, add the ingredients to the yeast mixture: melted butter, an egg, salt, and flour. Stir everything together until a dough begins to form. Once mixed, transfer the dough to a floured surface and knead it for about 5 minutes. You’ll know it’s ready when the dough becomes smooth and elastic.
Place the kneaded dough in a lightly greased bowl, cover it with a damp cloth, and let it rise warmly for 1-2 hours. During this time, the dough should double in size, giving it a light and airy texture that’s perfect for rolls.
Once the dough has risen, gently punch it to release the air. Divide the dough into 14-16 equal pieces. This helps ensure even baking and uniformity.
You’re ready to shape the dough into rolls, which we’ll discuss next.
Shaping the Rolls

Now that your dough has risen, it’s time to shape it into rolls that will bake evenly and look appealing. Start by dividing the dough into 14-16 equal pieces. This step is important for achieving uniformity in rolls, ensuring each bakes at the same rate.
When shaping rolls, aim for smooth tops and a sealed bottom to prevent them from opening during baking. Roll each piece into a tight ball for consistent shaping, tucking the edges underneath to form a smooth surface. This technique helps create even rolls with a pleasing appearance.
If you’re feeling adventurous, experiment with creative shaping techniques like twisting or knotting the dough. These variations make your rolls visually appealing and add a unique touch to your homemade batch.
Baking Instructions
Once your rolls are shaped and ready, preheat your oven to 375°F for baking.
Place the rolls on a baking sheet, ensuring they have enough space to rise and expand without touching each other.
As your oven reaches the desired temperature, you’ll want to give the dough a final check to ensure it’s properly proofed and ready to bake.
Slide the baking sheet into the oven and bake the rolls for 12-15 minutes. Watch them carefully; you want a golden brown colour and a fluffy texture.
The aroma of homemade rolls baking in the oven will fill your kitchen, making it hard to wait.
Once they’ve achieved that perfect golden hue, carefully remove them from the oven.
While the rolls are still warm, brush them generously with melted butter. This step adds extra flavour and helps keep the rolls moist.
Serve the homemade rolls warm to enjoy their soft, buttery texture fully.
These rolls will impress whether you’re making them for a family dinner or a special occasion.
Enjoy the fruits of your labour and the delightful taste of these fluffy, homemade rolls.
Storage Tips
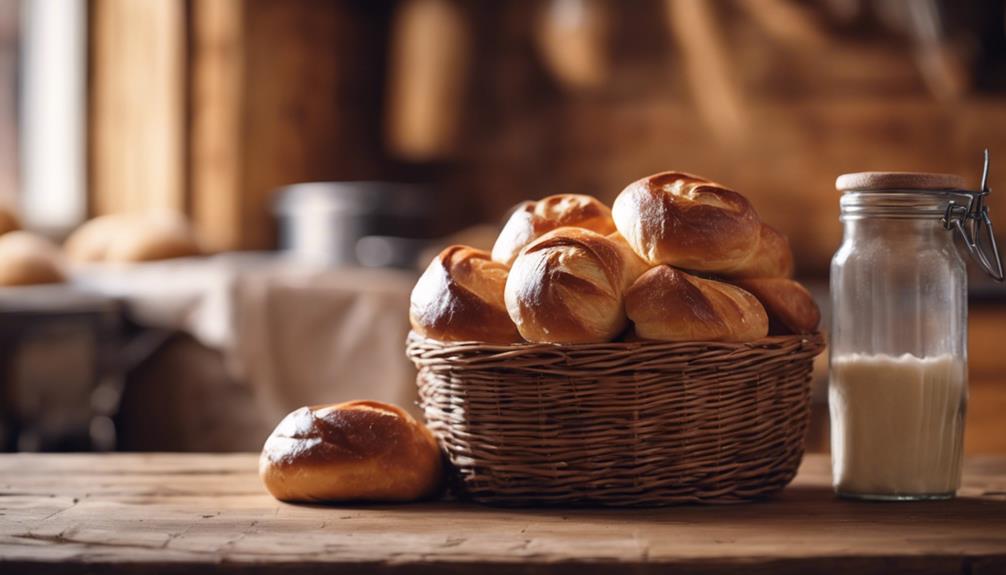
When storing your homemade rolls, ensure they cool completely before you put them away.
Use airtight containers to keep them fresh at room temperature for up to two days.
For longer storage, freeze the rolls and remember to label the bags with the date.
Proper Cooling Process
Cool your homemade rolls completely on a wire rack before storing them to keep them fresh and delicious. This step is vital for maintaining the delightful texture of your soft dinner rolls. Proper cooling guarantees the rolls don’t trap excess moisture, which can lead to sogginess.
Once you place your hot, freshly baked rolls on a wire rack, let them cool completely at room temperature. This allows air to circulate each roll, preventing condensation.
To further make sure your rolls stay perfect for dinner, follow these tips:
- Cool baked rolls: Use a wire rack to let them cool completely.
- Avoid excess moisture: Don’t stack hot rolls, making them soggy.
- Store in an airtight container: Place the rolls in an airtight container once fully cooled.
- Store in a zip-top bag: Alternatively, use a zip-top bag to keep them fresh.
- Prevent condensation: Make sure rolls are at room temperature before sealing.
Ideal Storage Containers
Choosing the right storage containers is essential for keeping your homemade rolls fresh and delicious. First, opt for airtight containers like plastic containers or resealable bags. These help seal the freshness and prevent any air from getting in, which can dry out your rolls. If you plan to store rolls longer, choose freezer-safe options to preserve their quality.
Glass containers with secure lids are ideal for storing rolls in the refrigerator. They keep your homemade rolls fresh and allow you to see what’s inside without opening the container. For added protection, wrap your rolls in aluminium foil or plastic wrap before placing them in the container. This extra layer helps prevent any moisture loss or freezer burn.
Always make sure your storage containers are clean and dry before use. Any moisture left inside can lead to mould growth or soggy rolls, which you want to avoid.
Serving Suggestions
Pair your homemade rolls with Italian sausage spaghetti for a comforting and satisfying meal. This classic combination is one of the best serving suggestions for freshly baked rolls. The savory spaghetti sauce perfectly complements the soft, warm rolls.
If you want a warm and hearty combination, serve the rolls alongside Butternut Squash Soup. The soup’s creamy texture pairs wonderfully with the fluffy rolls, making for an ideal fall or winter meal.
Another excellent option is to enjoy your rolls with an Awesome Slow Cooker Pot Roast. The tender meat and rich gravy make a delicious and complete dinner, especially when topped with homemade rolls.
Try serving the rolls with Chef John’s Nashville Hot Chicken for a flavorful twist. The spicy, crispy chicken contrasts beautifully with the soft buttery rolls, creating a dynamic and satisfying meal.
Lastly, don’t forget you can always get creative by making mini sandwiches or sliders. These versatile bites are perfect for parties, picnics, or casual lunches.
- Italian Sausage Spaghetti
- Butternut Squash Soup
- Awesome Slow Cooker Pot Roast
- Chef John’s Nashville Hot Chicken
- Mini sandwiches or sliders
Conclusion
You’ve now got everything you need to make delicious homemade rolls. Each step is simple and rewarding, from activating the yeast to shaping and baking.
Remember to enjoy the process and not be afraid to experiment with shapes and flavours.
These rolls are sure to impress, fresh out of the oven or stored for later.
So go ahead, roll up your sleeves, and savour the delightful aroma of freshly baked bread in your kitchen.
FAQs
1. Why Are My Homemade Rolls Not Fluffy?
Your rolls aren’t fluffy because you might’ve used poor yeast quality, not proof the dough at the right temperature, added too much flour, over-kneaded, or baked at the wrong temperature. Focus on proper techniques to improve.
2. What Makes Homemade Rolls Dry?
Your rolls are dry because of incorrect measurements, over kneading dough, insufficient hydration, using the wrong flour, poor yeast quality, inadequate proofing, overbaking rolls, old ingredients, low humidity, or incorrect mixing. Pay attention to these factors.
3. Why Are My Homemade Dinner Rolls Hard?
Your homemade dinner rolls might be hard because of over-proofed dough, insufficient kneading, low hydration, improper shaping, wrong temperature, stale yeast, overbaked rolls, underbaked rolls, rapid cooling, or baking in a hot oven.
4. How Long to Let the Rolls Rise Before Baking?
Let rolls rise for 1-2 hours to guarantee proper yeast activation, dough consistency, and peak humidity. Knead well, choose the flour type, and maintain the ideal proofing temperature. A second rise might be needed for the perfect texture.