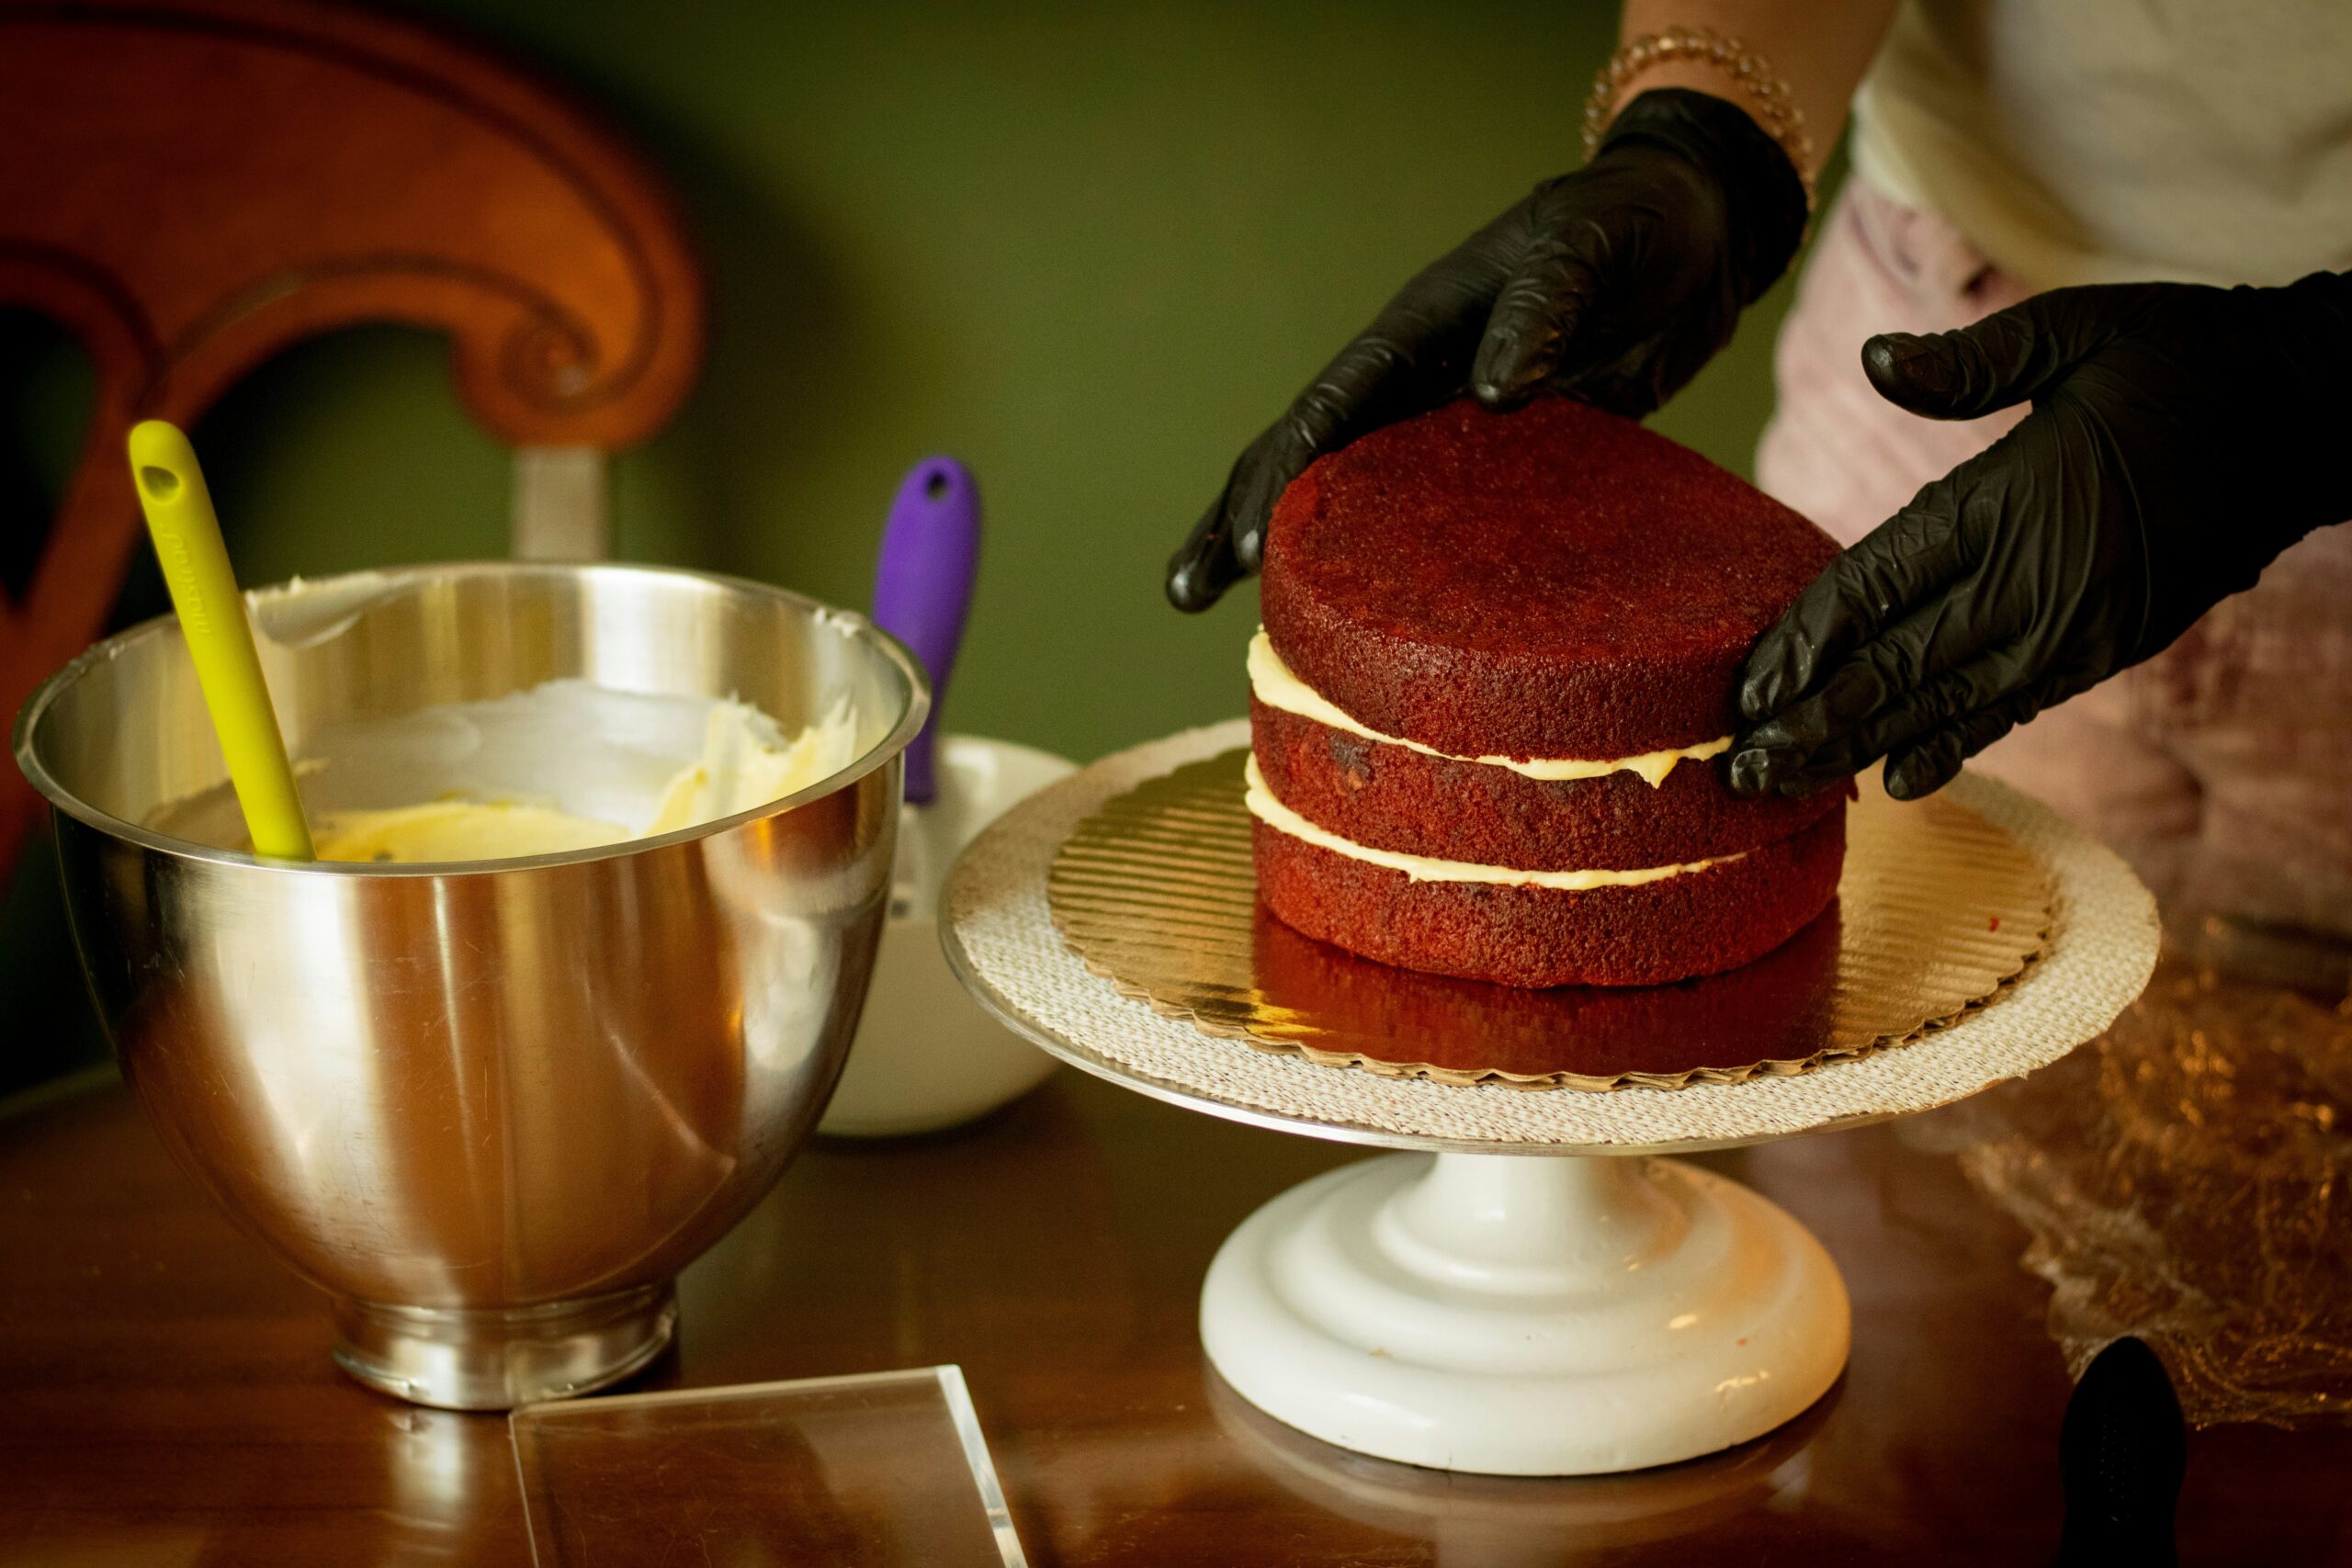

The first time most of us tried to build a layer cake from scratch, something went wrong. Maybe the layers slid. Maybe the frosting tore into the crumb and turned gray. Maybe the whole thing leaned to one side like a house with a bad foundation, and nobody said anything until the candles were lit.
None of that is failure. That’s just the learning curve nobody warns you about.
A layer cake isn’t hard. But it does ask you to do things in the right order, with a little patience between each step. Get those things right, and you will make a cake that looks the way a cake is supposed to look tall, even, frosted clean, sliced into layers that hold their shape on the plate.
Here’s how to do it, from the very beginning.
Table of Contents
Start with a Butter Cake Batter Worth Building On

The simplest and most reliable base for a layer cake is a classic butter cake: butter, sugar, eggs, flour, a leavener, milk or buttermilk, and vanilla. That’s it. No box mix required, and no special equipment beyond a stand mixer or a hand mixer and two round cake pans.
Cream the butter and sugar together longer than you think you need to. Full three to four minutes on medium-high, until the mixture is pale yellow and noticeably fluffy. This step is doing real work — it’s folding air into the fat, and that air is part of what lifts the cake in the oven. Rush it, and you lose that structure before the batter even hits the pan.
Add your eggs one at a time. Each one needs a moment to be absorbed before the next goes in. Then your dry ingredients and your milk, alternating; start and end with flour. This keeps the batter from breaking. The flour coats the fat and stabilizes everything as the liquid comes in. If you add all the milk at once, you’ll see the batter look suddenly loose and grainy. That’s not the end of the world, but it’s a sign you’ve pushed the emulsion a little too far.
Divide the batter evenly between two greased and parchment-lined eight-inch round pans. Weigh them on a kitchen scale if you have one. Even layers mean even baking.
The Part Everyone Skips: Cooling Completely
Bake at 350 degrees until a toothpick comes out with just a few moist crumbs, not wet, not bone dry. Somewhere in the range of 28 to 35 minutes for an eight-inch layer, though every oven runs a little different.
And here’s the thing most people don’t want to hear: you cannot frost a warm cake. You just can’t. The frosting will melt into the crumb, the layers will slide, and you’ll spend an hour trying to hold something together that was always going to fall. Let the layers cool in the pans for about fifteen minutes, then turn them out onto a wire rack and leave them alone. At least an hour at room temperature. Two is better. If you’re baking ahead, and you should be, wrap the cooled layers in plastic wrap and refrigerate them overnight. Cold cake is actually easier to frost.
The Crumb Coat Is Not Optional
Once your layers are cool, level them if they’ve domed. A serrated knife and a steady hand is all it takes. Cut gently across the top of each layer to create a flat surface. The dome you cut off is the baker’s reward. Eat it with a little frosting and call it quality control.
Stack the layers with frosting between each one. A generous half-cup of buttercream per layer is about right for most cakes. Spread it to the edges, but don’t push it over. Set the top layer on last.
Now do the crumb coat.
This is a thin layer of frosting you spread over the whole outside of the cake before the real coat goes on. Its only job is to trap crumbs. Every loose bit on the surface gets sealed in. So your final pass comes out clean. Skip it, and you’ll spend twenty minutes chasing crumbs around the outside of the cake with a spatula, wondering why it keeps looking worse instead of better. Apply the crumb coat, then refrigerate the cake for at least thirty minutes. The frosting needs to firm up so the final layer has something solid to grip.
Frosting Without Losing Your Mind
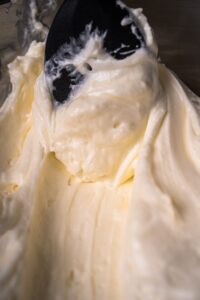
Classic American buttercream- butter, powdered sugar, a little cream, vanilla- is the most forgiving frosting for a layer cake. It’s stiff enough to hold its shape, soft enough to spread, and it tastes like the frosting you remember from birthday cakes growing up.
Apply the final coat with an offset spatula. Start with the top, then bring frosting down over the sides. A bench scraper held against the side of the cake while you slowly rotate it on a turntable (or a lazy Susan, or even a dinner plate you’re not worried about) will give you a smooth finish with very little effort. You don’t need to be a pastry chef. You just need to be patient and keep the scraper at a consistent angle.
If the frosting starts pulling or tearing, your crumb coat wasn’t cold enough. Refrigerate for another fifteen minutes and try again.
The very last thing: run your spatula under hot water, dry it, and make one final pass over the top. The heat smooths everything out. That’s the move that makes a homemade cake look like it came from a bakery.
A Few Things That Are Worth Knowing
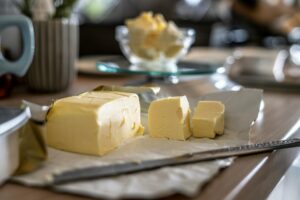
Room temperature ingredients matter more than most recipes let on. Cold butter won’t cream. Cold eggs can break the batter. Pull everything out of the fridge an hour before you start. Simple fix, big difference.
Cake flour, if you have it, gives a finer, more tender crumb than all-purpose. It’s not essential, but it makes a difference you can feel in the slice.
Buttermilk adds a subtle tang and keeps the crumb moist longer than regular milk. If you don’t have it, a tablespoon of white vinegar stirred into a cup of whole milk and left for five minutes does nearly the same thing.
And once the cake is fully frosted, let it sit at room temperature for at least thirty minutes before you serve it. Cold frosting doesn’t have the same texture as frosting that’s had a chance to settle. That final rest, brief as it is, is what makes the difference between a cake that’s technically finished and one that tastes like it was made with care.
Most of us learned to bake layer cakes by watching someone else do it, someone who made it look easy because they’d done it fifty times and already knew where the patience needed to go. The recipe wasn’t the thing. The order was.
Sources
Comprehensive technique guide on layering, crumb coating, and buttercream application
Science-backed explanation of creaming method, emulsification, and baking temperature
This article was created with AI assistance and reviewed for clarity and accuracy.